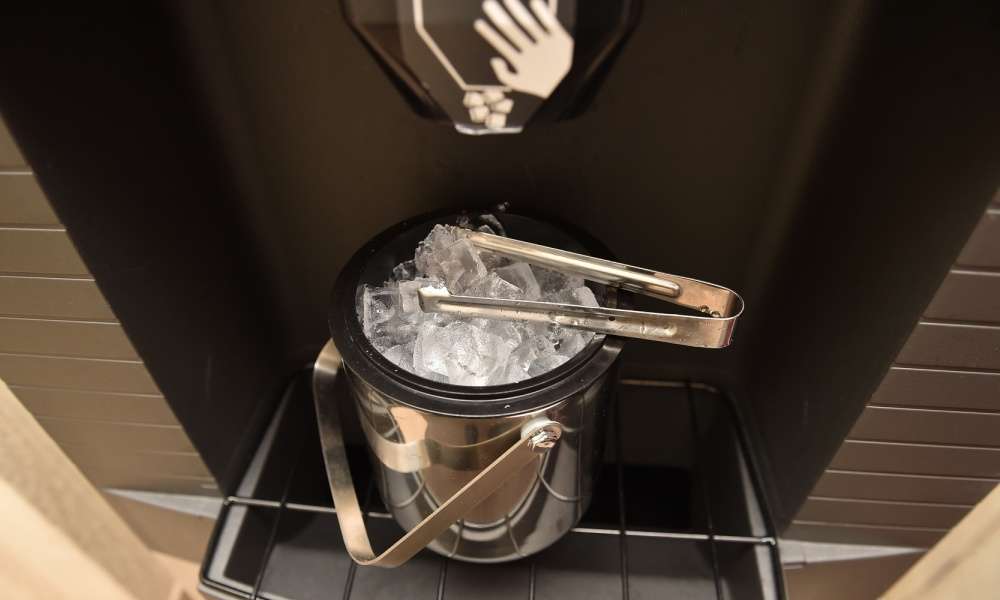
Ice making has become more popular in the past years. Not too long ago, people had to fill an aluminum or plastic ice tray with water and put it inside a freezer for a few hours or a day. Later on, freezers often had specified areas where ice could be made or stored. Other refrigerators had automatic icemakers incorporated in the design, either in the freezer, or as an on-door feature.
However, with the growing need for ready ice at home to enjoy your favorite drinks and for get-togethers, some are now investing in portable icemakers that can help them make ice without it taking up valuable space in the freezer.
Unlike the usual ice-making methods, portable icemakers freeze the water placed inside it and each icemaker varies in terms on what the ice looks like.
Considering these differences, how does a portable icemaker work and how can you maximize it to your advantage?
Here are some of the steps you need to remember when using your portable icemaker:
- Check the voltage power needed for the machine. Usually, portable icemakers need 230W to start making ice and 100W to ensure it runs, even in idle mode. Knowing the voltage needed will help you determine if you need a transformer to convert your sockets to the appropriate wattage needed by the machine, or if you need to replace your circuit breaker.
- Fill the icemaker with water until the appropriate level is covered. When using portable icemakers, adding water should be done manually with the help of a jug or faucet. Before you place water inside the icemaker, make sure your portable icemaker can turn your preferred water into ice. Some portable icemakers can only turn certain water types to ice. Some icemakers require water to be placed inside the machine after selecting the settings of the machine.
- Select the ice cube size you want your icemaker to make with the water you filled inside the machine. Usually, there are three sizes of ice that can be made with a portable icemakers: small, medium and large; others have only two settings. Users can even select the shape the ice should take depending on what is offered by the machine. Select your preferred shape and size using the control panel of the icemaker.
- Press the switch or button to get the ice making operation begin. You will be able to see ice being formed in the machine as fast as 5 to 10 minutes depending on the machine and the size of the ice being made. Ice is made differently depending on the design used by the icemaker. Some use frozen spikes or prongs to create ice. Once a batch of ice is made, the final product is placed in an ice basket for easy storage.
- Wait for the sensor to alert you that the ice basket is filled. The sensor will also turn off the machine to stop it from automatically making more ice.
If you experience some trouble in using your icemaker, or if you have questions about the retention of ice with this machine, here are some points that you need to remember:
- Icemakers cannot hold ice for long and it will melt when the system shuts down. Some portable icemakers can retain the ice for a short period of time, but melting is still possible. It is best to use the ice you make with the machine right after it is made, or move the contents into a freezer to stop it from melting.
- Melted ice will often return to the water tank or reservoir you fill to make ice. The water will then be reused and turned back to ice.
- If you notice that the water pump does not work at all, you should get a replacement pump to get your icemaker back to work.
- Ice may also not form if there is a problem with its coolant system. To determine if there is a coolant leak or malfunction, you might notice oil leaking in the machine. If this happens, contact the company for assistance or bring it to a qualified repairman.
